In case you don't know....this is how it works, in basic terms:
1) Select two or more colors of polymer clay. High contrast works best. (It can also be done with translucent clay and metal foil/leaf, but the steps I'm describing here involve just polymer clay.)
2) Roll thin sheets of each one in a pasta machine.
3) Stack them on top of each other, making sure the high contrast colors are next to each other.
4) Roll that stack through the pasta machine.
5) Cut the stack into a few pieces...as equal in size as possible. I usually do 3 pieces. This will give me enough surface area to play with. Stack them on top of each other. Now you have a "loaf" of very thin striped colors. Trim the scraggly edges and set them aside for future use.
6) Grab some tools. I use awls, floral tools, stamps, wavy blades, shaped cutters....anything to pierce those layers.
7) Push the tools down through the loaf, penetrating as many layers of the loaf as possible. As you create gaps, you can leave the gaps, or squeeze the sides of the loaf back toward the center to close them.
8) Set the loaf aside for a few minutes to settle and cool off. (Sticking it in the fridge helps, too.)
9) NOW....this is the most fun part of all. Grab a strong, clean tissue blade. (The ones marketed for polymer clay are the best.)
10) Turn the loaf sideways so your solid "top and bottom" are now on the side.
11) Begin slicing through the distorted layers, starting at the end where you used the piercing tools. Try not to drool all over yourself as you peel away the amazing layers!
12) Process as needed to achieve awesome miniature art/jewelry/whatever.
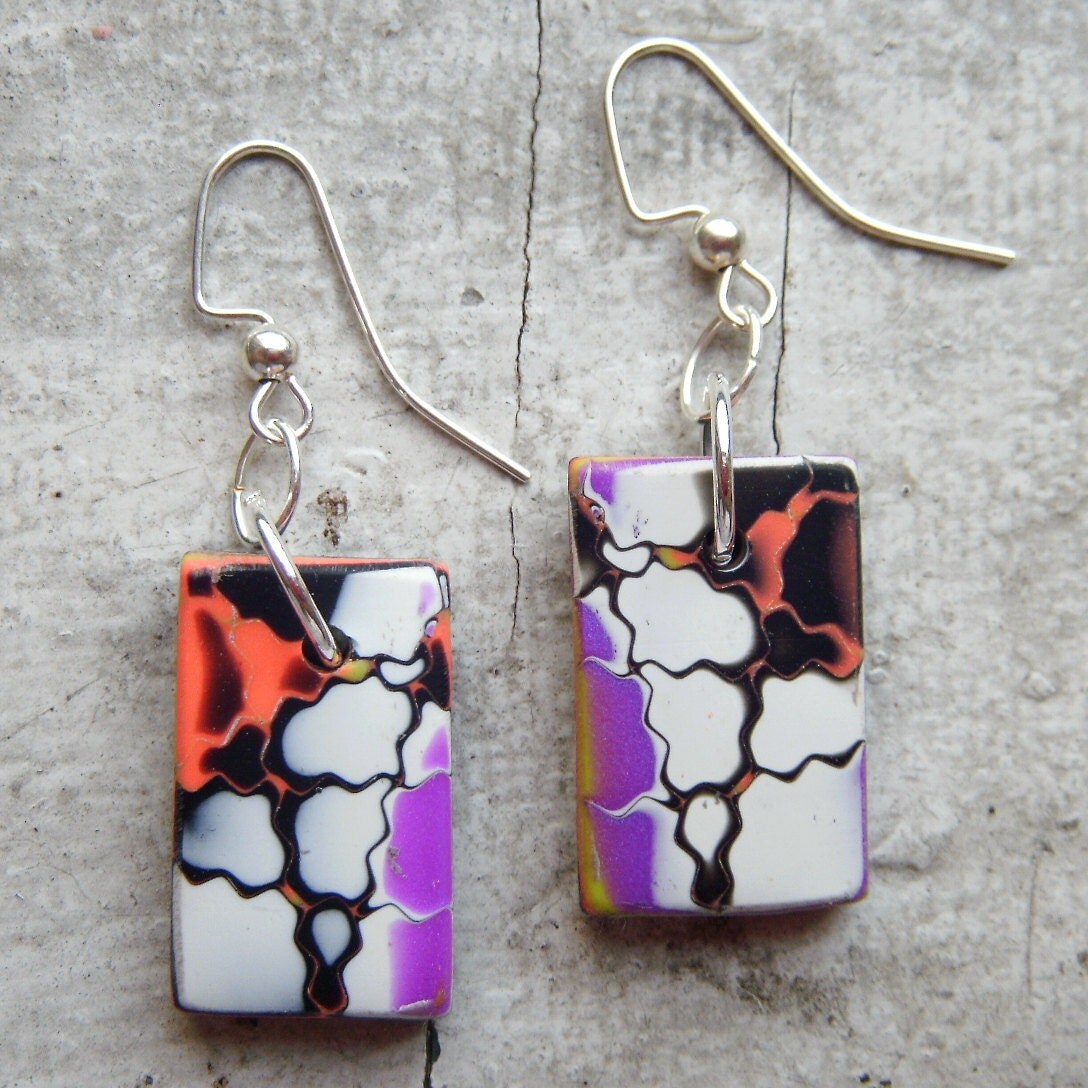
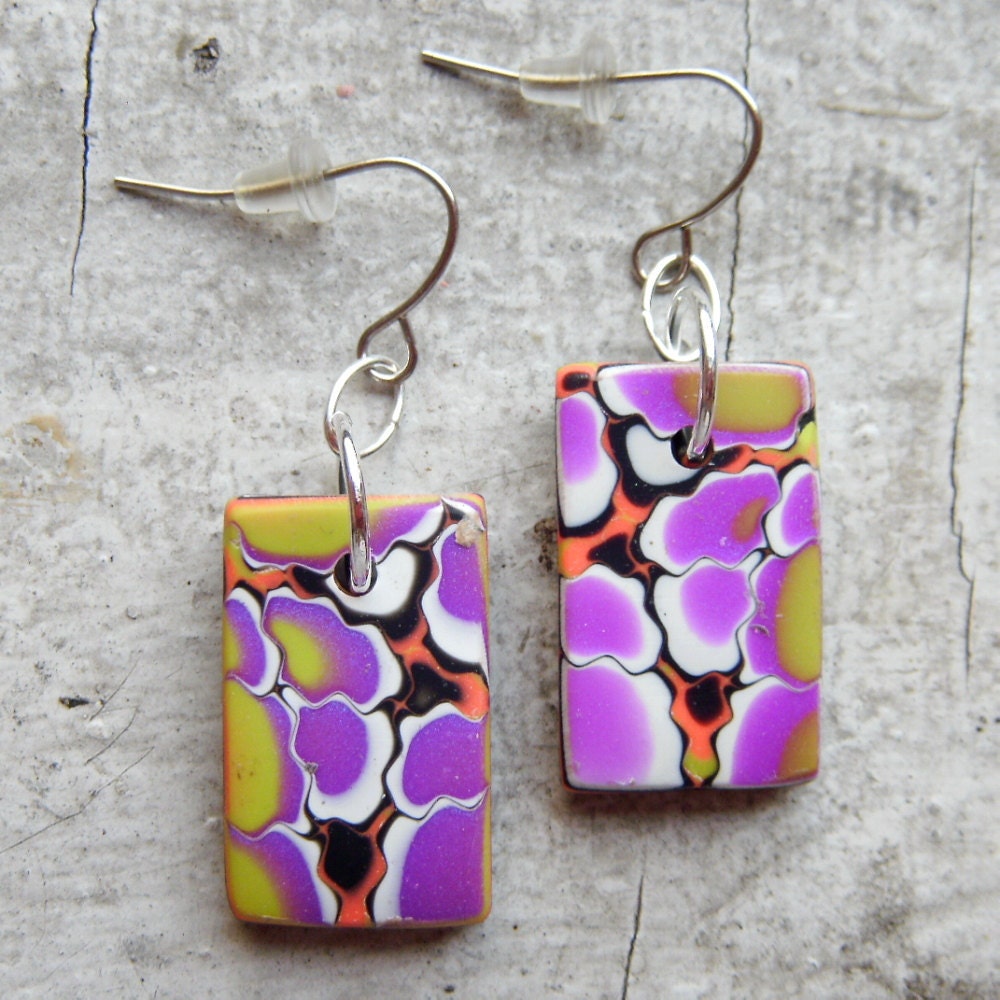
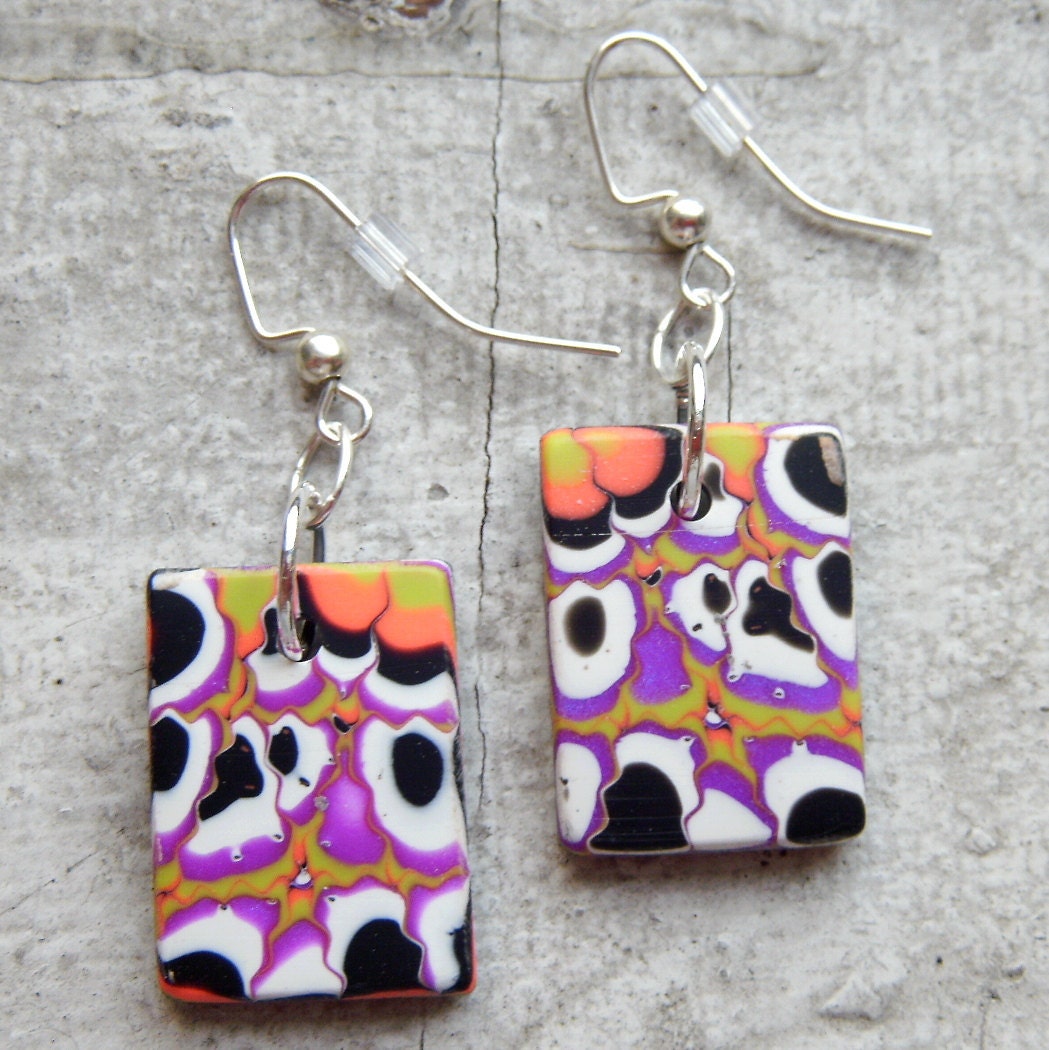
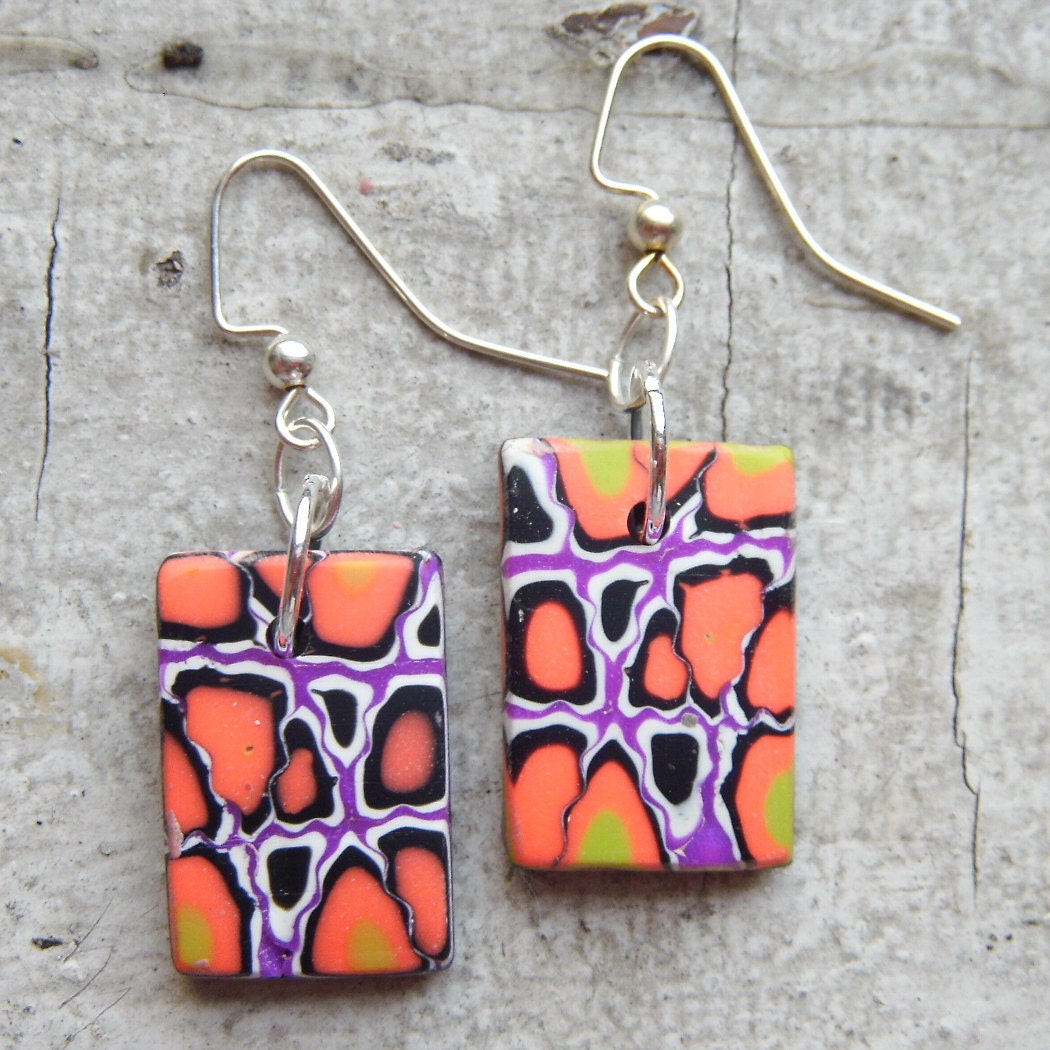
All four of these earrings were made from slices of the same loaf. All 4 have the same colors as the others, in varying degree, in varying design.
There are many great photo-enhanced mokume gane tutorials out there, if you are a visual learner.


